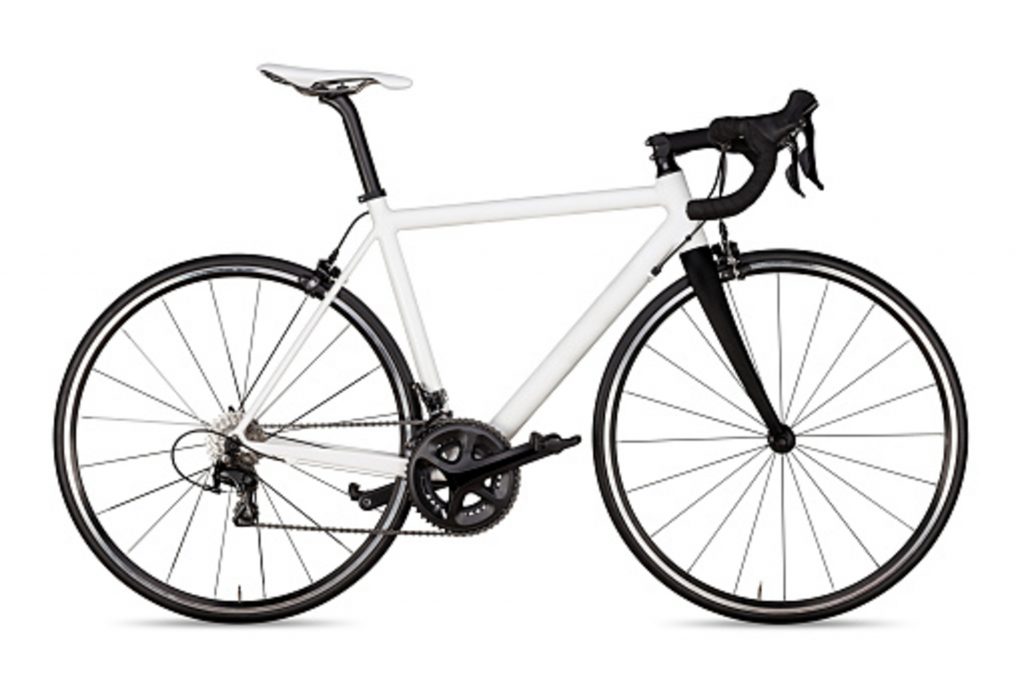
Riding a motorcycle with the breeze caressing your face is a wonderful feeling. However, cruising along highways on a road bike provides a different kind of experience. As you pedal your way through meandering tracks, you’ll feel beads of sweat trickling down your cheeks. Every mile you cover is hard-earned. You’ll be way more exhausted, but it’s totally worth it.
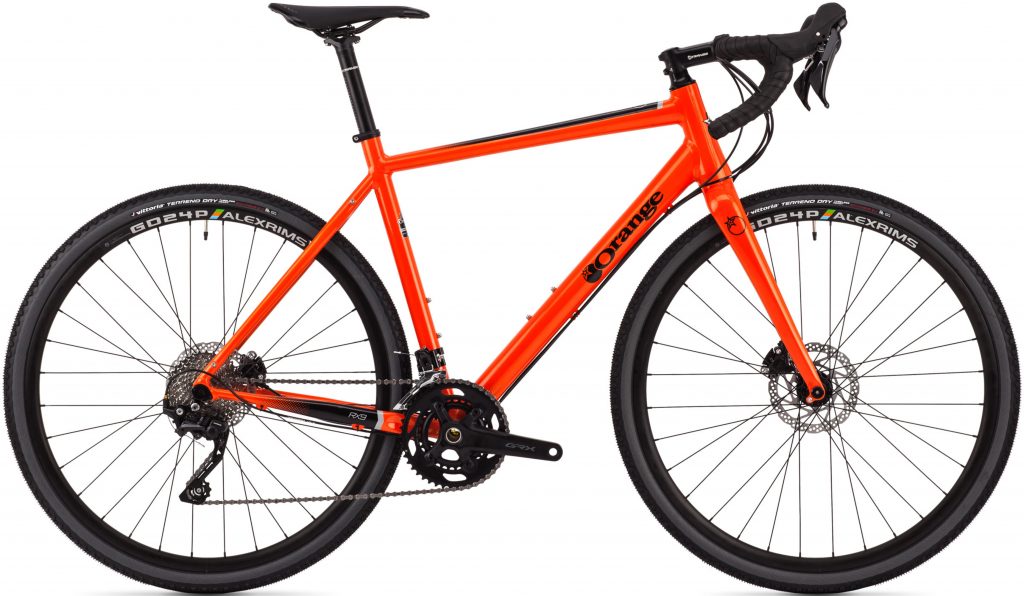
A road bike might not be of the same value as a car, but it’s just as precious. That’s why you’ll want to haul it safely when moving to a new place.
But First, Why Pack Your Bike?
Like, why not just put it on the back of the truck and be on your way? Well, if you do that, you’ll risk dents and scratches during transit. The worst-case scenario would be damage to crucial components, ultimately rendering your bicycle useless.
That’s why you’ll want to pack your precious two-wheeler carefully. And here’s how you can do it:
Gather Supplies and Necessary Tools
Prepping the materials is packing 101. You don’t want to find yourself running out of tape in the middle of the operation. To avoid interruptions, you should have these things ready:
- Cardboard bike box or travel bag/case
- Small box
- Heavy-duty packing tape
- Bubble wraps
- Foam protection tubes (optional)
- Zip ties
- Bubble wraps
- Bicycle tool kit
Get the Right Carrier for Your Bike
If you won’t move again for a while or this is the only time you think you’ll transport your bike, using a cardboard box would be practical. However, if you often go on trips, buying an ultra-protective travel bag/case is a more worthwhile option.
But again, if you’re looking to save money, buy a cardboard box for cheap from local bike shops. They may even have plenty of spares leftover from incoming shipments. Once you get your hands on a box, make sure to reinforce it. Patch up any rips with cardboard and heavy-duty tape. Lastly, don’t forget to prepare a smaller container for your bike accessories.
Disassembling Your Bike
Although the dismantling process is the same for most bicycles, the packing specifics can vary between travel bags and cases. Refer to the manual for the proper procedure. Always remember to label parts covered with bubble wrap. This makes it easier to determine what’s what and reassemble later on.
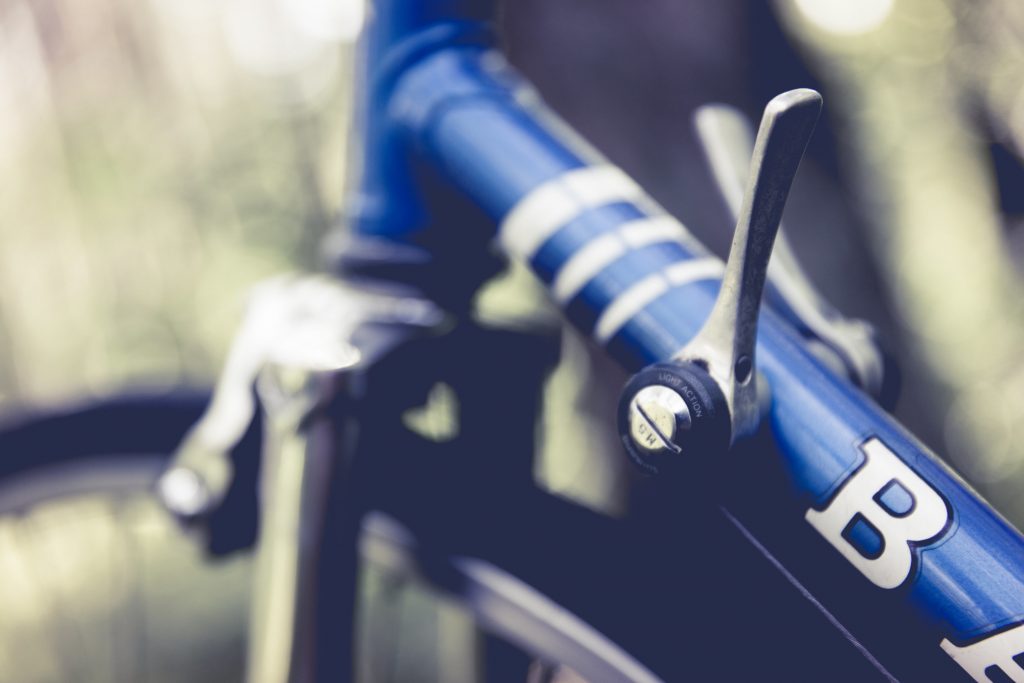
Although the dismantling process is the same for most bicycles, the packing specifics can vary between travel bags and cases.
Detach Pedals, Saddle, and Adjust the Seat Post
Take out both pedals, bind them together, and put them inside the accessories box. Tape the threads on the side as well. Leaving things loose allows them to rattle around and may cause damage. If you plan to remove the saddle, be sure to cover it with bubble wrap. If not, lower the seat post so it doesn’t scrape the corners of the box.
Remove the Wheels (Front Only)
Before removing the front wheel, slightly deflate the tires. Don’t let out too much air, or else impact and shaking can damage the rim. Meanwhile, just leave the back wheel as is if you don’t plan on unfastening the rear derailleur. But if you do, loosen up the quick-release skewer, cover it in bubble wrap, and then stash it in the accessories box.
Unhitch the Rear Derailleur
This is a core component, so you have to be careful with this one. You can skip this step by getting a derailleur shield. If not, then the only thing you need to do is unfasten the derailleur hanger. The entire part will come off the moment you do so. Cloak the piece with bubble wrap and gently place it in the accessories box.
Position the Handlebar
To make things easier, turn the stem sideways and keep the bars facing downwards. Don’t worry. It’s surprisingly flexible. But if it bugs you, remove the handlebar and place it in the same position as stated above.
Apply Foam Protection Tubes
Once you’ve completed the previous steps, now’s the perfect time to use your foam protection tubes. Although optional, they go a long way to protect your bike during transit by acting as a cushion from bumps and impact.
Box it Up!
Congrats! You’ve reached the final step. All that’s left to do is to gently place your bike inside the box. Here are some additional tips:
- Do last-minute maintenance. Ensure that parts are well-secured before putting them in. Check that nothing’s missing in the accessories box.
- Place the larger components first. This includes the tires, main body, and fenders. Make sure that there’s minimal metal-to-metal contact between separate parts to avoid scratches.
- Reinforce the cardboard box. Do so by applying extra layers of heavy-duty tape.
Your road bike’s now ready to go.
And that’s it! Your road bike’s now ready to go. Best of luck on your move! Hoping it’s a successful one.


0 Comments Leave a comment